
How to Setup Travis CI with Github
Continuous Integration is the process of automatically building and running tests whenever a change is committed.
Travis sets up “hooks” with Github to automatically run tests at specified times.
This repo is used to record the steps to setup Travis CI with one of my repo GithubPilot, my Repo has already had some Test Cases.
Step1
Go to Travis-Ci sign in with your github account

Click your account and then find the project you want to turn on, just turn it on.

Step2
Prepare your .travis.yml file.
 language: objective-cs
 osx_image: xcode7.2
 env:
   global:
   - LC_CTYPE=en_US.UTF-8
   - LANG=en_US.UTF-8
 matrix:
   - SCHEME="GithubPilot" SDK=iphonesimulator9.2

 before_install:
   - gem install cocoapods --no-rdoc --no-ri --no-document --quiet
   - gem install xcpretty --no-rdoc --no-ri --no-document --quiet

 script:
   - set -o pipefail
   - xcodebuild -version
   - xctool -workspace GithubPilot.xcworkspace -scheme "$SCHEME" -sdk "$SDK" ONLY_ACTIVE_ARCH=NO CODE_SIGN_IDENTITY="" CODE_SIGNING_REQUIRED=NO
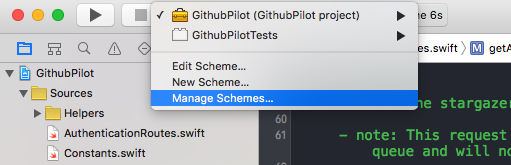
Step3
At this time, probably you will hit an Error on Travis, read the log from Travis, you might know what you should do. Share the Scheme.

Pushed your changes.
Written on February 24, 2016